French seams offer a clean, durable finish, ideal for lightweight or sheer fabrics, encasing raw edges for a professional look. This tutorial demonstrates a simple, effective method!
What is a French Seam?
French seams are a beautiful and remarkably effective seam finish, distinctly different from a standard seam. Unlike typical seams which often require edge finishing like zigzag stitches or serging to prevent fraying, a French seam actually encases the raw edges within the seam allowance itself.
This is achieved through a two-step sewing process: first sewing with wrong sides together, then folding, pressing, and sewing again with right sides together. The result is a seam that is incredibly neat, durable, and prevents fabric from unraveling, making it a favorite for delicate or sheer materials. It’s a classic technique offering a professional finish!
Why Use French Seams?
French seams are a superior choice when you prioritize a clean, professional finish and long-lasting durability. They excel with sheer or lightweight fabrics prone to fraying, offering a secure and elegant solution without bulky seam allowances.
Beyond aesthetics, French seams enhance garment longevity, resisting unraveling even with frequent wear and washing. They’re also ideal for projects where seam allowances might be visible, concealing raw edges for a polished look. While slightly more time-consuming than simpler finishes, the refined result and increased durability make them worthwhile!
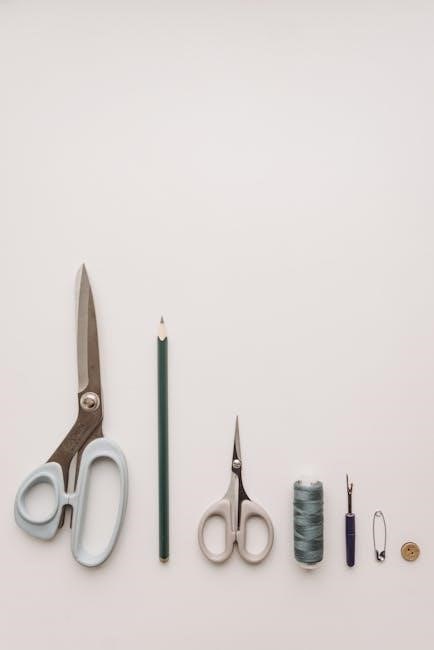
Materials Needed for a French Seam
Essential supplies include your chosen fabric, a sewing machine with matching thread, sharp scissors for precise trimming, and pins to secure fabric layers effectively.
Fabric Choice
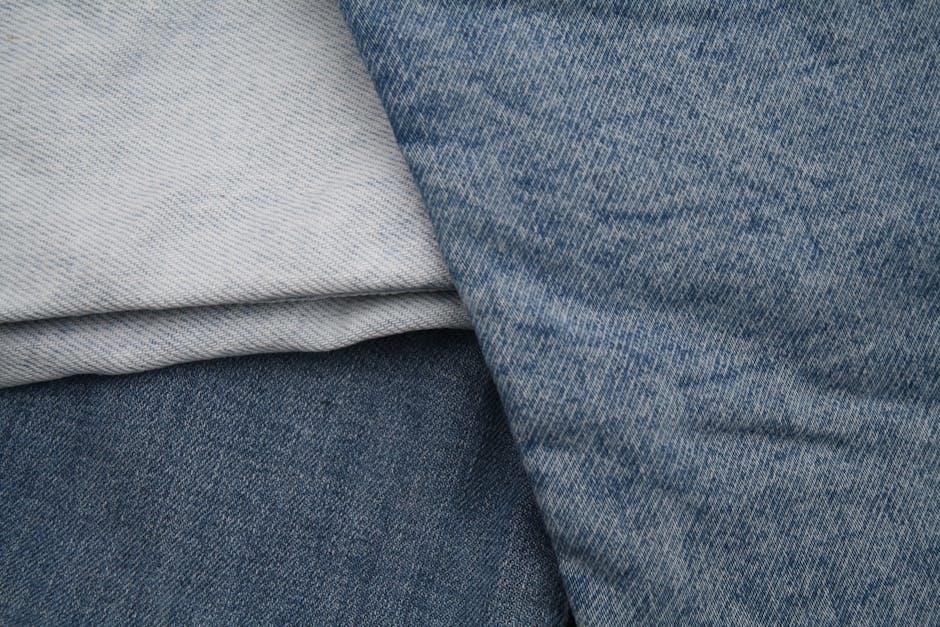
Selecting the right fabric is crucial for successful French seams. They excel with sheer, lightweight materials like chiffon, voile, and lawn, where concealing raw edges is paramount. However, French seams aren’t limited to delicate fabrics! They also work beautifully with cotton, linen, and even some lighter-weight synthetics.
Consider the fabric’s tendency to fray; more prone-to-fray fabrics benefit significantly from the enclosed seam. While possible with heavier fabrics, be mindful of potential bulkiness – adjustments to seam allowances might be necessary. Ultimately, a stable weave generally yields the neatest results, ensuring a professional finish and long-lasting durability.
Sewing Machine and Thread
A standard sewing machine with a straight stitch capability is all you need for French seams. No specialized feet are required, making it accessible for beginners! Ensure your machine is properly threaded and tension is balanced for a clean stitch. A universal needle size 80/12 is generally suitable for most fabrics used with this technique.
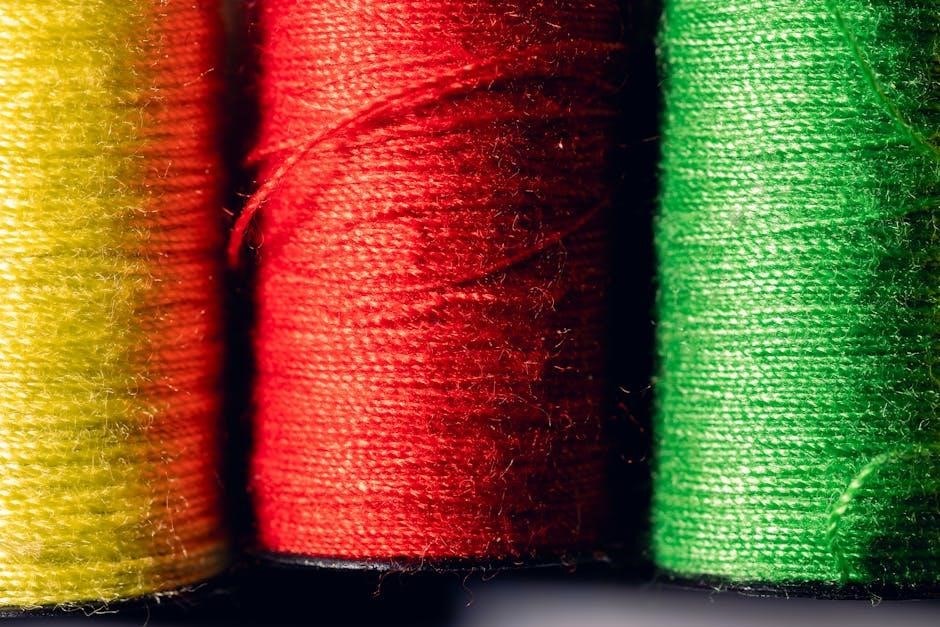
Thread choice should complement your fabric. Polyester thread offers strength and durability, while cotton thread is ideal for natural fibers. Match the thread color to your fabric for an invisible seam, or use a contrasting color for a decorative effect. Consistent thread quality ensures a smooth, reliable seam.
Scissors and Pins
Sharp fabric scissors are crucial for precise cutting, especially when trimming seam allowances. Rotary cutters and mats can also be used for efficient fabric preparation. Invest in quality scissors to ensure clean edges and prevent fabric fraying. Dull scissors can distort the fabric and lead to uneven seams.
Straight pins are essential for holding fabric layers together before sewing. Use fine pins to avoid leaving noticeable holes in delicate fabrics. Pin perpendicular to the seam line for easy removal. Consider using wonder clips as an alternative to pins, particularly for thicker fabrics, as they provide a secure hold without damaging the material.
Step-by-Step French Seam Tutorial
This tutorial guides you through creating a French seam: sewing wrong sides together, pressing, trimming, folding, and finally, sewing right sides together for a clean finish!
Step 1: Wrong Sides Together ─ First Seam
Begin by placing your fabric pieces wrong sides together, unlike traditional sewing where right sides face. This is the foundational step for encasing those raw edges! Pin the fabric securely along the intended seam line. Now, using a sewing machine, stitch a seam allowance – typically around 9mm or 1/2 inch – but remember to split this allowance later.
The initial seam doesn’t need to be perfect, as it will be entirely enclosed. Focus on maintaining a consistent seam line for a neater final result. This first seam is crucial; it sets the stage for the clean finish that French seams are known for. Ensure your stitches are secure and even throughout the length of the seam.
Step 2: Pressing the First Seam
After sewing the initial seam, carefully press it flat. This step is vital for achieving a crisp, clean finish. Use an iron on an appropriate setting for your fabric type. Gently press the seam open, ensuring the fabric lies flat and smooth. This will make trimming and folding much easier in subsequent steps.
Pressing helps to set the stitches and eliminates any puckering or unevenness. Take your time and apply even pressure. A well-pressed seam is the key to a professional-looking French seam. This prepares the fabric for the next crucial stage: trimming away the excess fabric allowance.
Step 3: Trimming the Seam Allowance
Now, carefully trim the seam allowance down to a narrower width. Typically, this is around ¼ inch (6mm) or even less, depending on your fabric weight and desired seam finish. Precision is key here; a sharp pair of scissors is essential for a clean cut. Avoid cutting into the stitches!
Trimming reduces bulk and allows for a neater fold in the next step. This step is crucial for lightweight fabrics, preventing a bulky seam. Take your time and ensure a consistent width along the entire seam length. A well-trimmed seam allowance contributes significantly to the overall quality of the French seam.
Step 4: Folding and Pressing for Second Seam
With the wrong sides together and the first seam pressed flat, carefully fold the fabric so that the pressed seam is now enclosed within the fold. Essentially, you’re turning the fabric inside out, hiding the raw edge. Press this fold firmly, creating a crisp, defined crease. This pressing step is vital for accuracy and a professional finish.
Ensure the folded edge aligns neatly with the previous seam line. A good press will make sewing the second seam much easier and prevent any puckering or unevenness. Take your time to achieve a smooth, even fold before moving on to the final sewing stage.
Step 5: Sewing the Second Seam ─ Right Sides Together
Now, with right sides together, carefully sew a second seam, encasing the first seam allowance completely within this new seam; Maintain the same seam allowance as the first seam – typically around 3/8 inch (9mm), but adjust based on your fabric and preference. Backstitch at the beginning and end to secure the stitches.
This second seam is what truly creates the French seam’s clean, enclosed finish. Ensure you are sewing straight and evenly along the folded edge. A consistent seam allowance is key for a polished result. Press the finished seam open or to one side for a neat appearance.
Seam Allowance Considerations
Proper seam allowance splits are crucial for successful French seams; adjustments are needed for lightweight or heavyweight fabrics to ensure a clean, durable finish.
Standard Seam Allowance Splits
Typically, a standard seam allowance for French seams involves splitting it into two unequal parts. A common approach utilizes a ½ inch (12.7mm) total seam allowance, divided into ¼ inch (6.35mm) for the first seam and ¼ inch for the second. This split effectively encases the raw edges within the finished seam, providing a neat and durable result; However, this isn’t a rigid rule.
The key is to ensure sufficient fabric is available in both stages to fully enclose the raw edge. Some tutorials suggest a ⅝ inch (15.88mm) total allowance, split into ⅜ inch and ⅛ inch. Experimentation is encouraged to find what works best for your fabric and desired aesthetic. Remember, precision in cutting and sewing is vital for a professional-looking French seam.
Adjusting for Lightweight Fabrics
When working with particularly delicate or lightweight fabrics, like chiffon or voile, reducing the seam allowance split is crucial. A smaller allowance minimizes bulk and prevents puckering. Consider a total seam allowance of ⅜ inch (9.5mm), divided into ⅛ inch (3.175mm) for the first seam and ⅛ inch for the second.
Careful pressing between steps is even more important with these fabrics. Use a low heat setting and a pressing cloth to avoid scorching or distorting the material. A walking foot on your sewing machine can also help prevent fabric shifting during sewing. Precision and gentle handling are key to achieving a beautiful finish on lightweight materials.
Adjusting for Heavyweight Fabrics
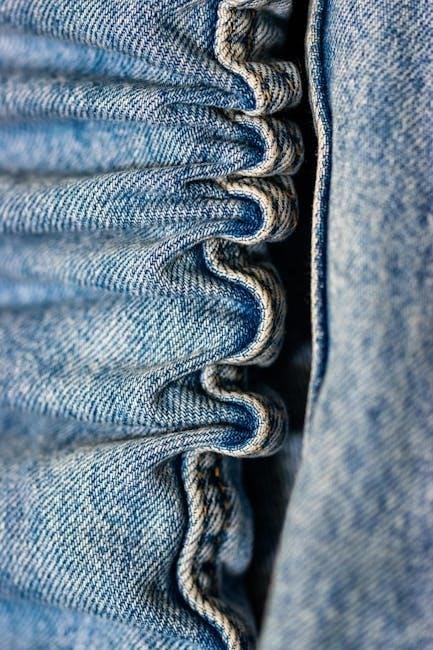
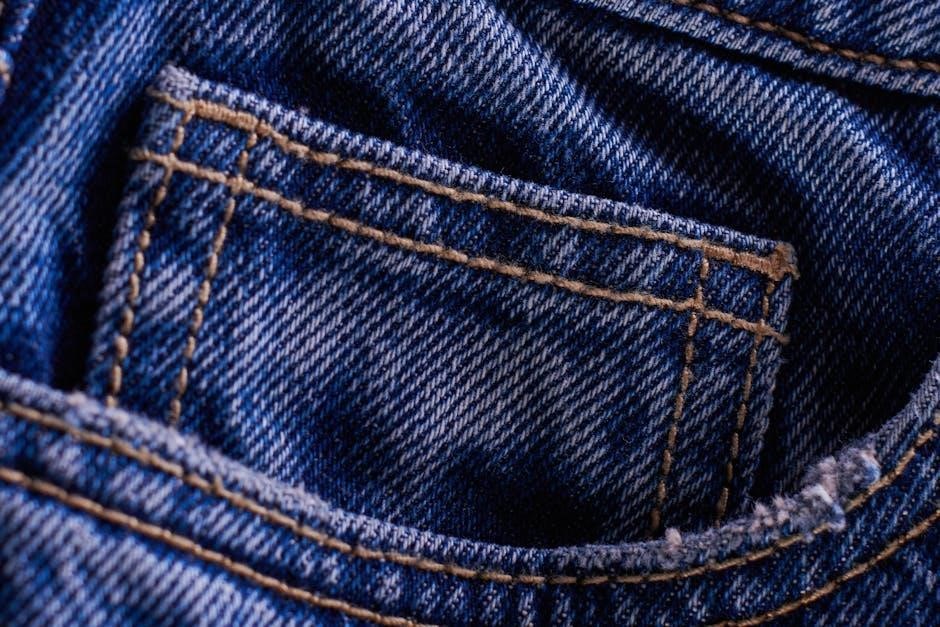
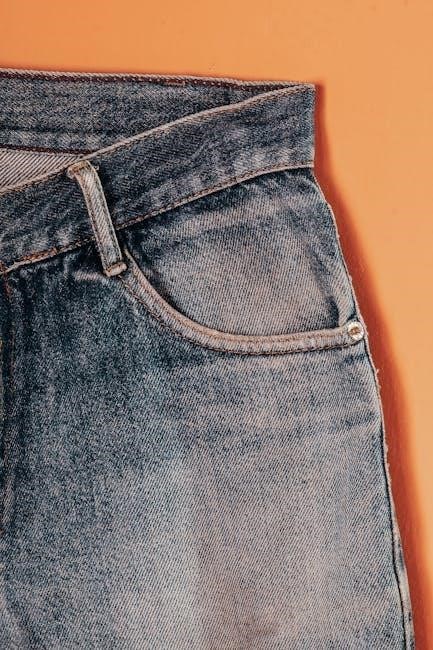
For heavier fabrics like denim or canvas, a larger seam allowance is generally recommended to provide sufficient fabric for encasing the raw edges and maintaining seam strength. A ½ inch (12.7mm) total seam allowance, split into ¼ inch (6.35mm) for each seam, works well.
Trimming the first seam allowance close to the stitching line is especially important to reduce bulk. Pressing can be more challenging with thicker fabrics; use a firm press and consider using a tailors ham to help shape the seam. A longer stitch length may also be beneficial for sewing through multiple layers of heavy fabric, ensuring a secure and durable seam.

French Seams for Beginners
Learning French seams is achievable with practice! Avoid common mistakes like uneven stitching and insufficient trimming. Start with scrap fabric for a successful outcome.
Common Mistakes to Avoid
Embarking on French seams can be wonderfully rewarding, but certain pitfalls can hinder a polished result. A frequent error is inconsistent seam allowance widths during both sewing stages; precision is key! Neglecting to properly press the seam open after the first stitch significantly impacts the second seam’s neatness.
Another common issue arises from insufficient trimming of the seam allowance before folding – this creates unnecessary bulk. Furthermore, failing to maintain a consistent fabric direction throughout the process can lead to puckering or distortion. Remember to pin generously, especially when working with slippery fabrics, to prevent shifting during sewing. Finally, rushing the process often results in inaccuracies; patience yields the best French seams!
Tips for Achieving a Clean Finish
To elevate your French seam game, prioritize precise pressing at each stage – a crisp fold is crucial. Utilize a seam gauge to ensure consistent seam allowance widths throughout both sewing passes. When trimming, avoid cutting too close to the second stitch line, preserving seam integrity.
For delicate fabrics, consider using a walking foot to prevent shifting and puckering. A fine needle appropriate for your fabric weight will also minimize damage. Slow and steady sewing is paramount; avoid rushing. Finally, a final press with a clapper will flatten the seam beautifully, resulting in a truly professional finish!
Practice Fabric Recommendations
Beginners mastering French seams should start with medium-weight woven cottons like quilting cotton or poplin. These fabrics are stable and easy to manipulate, offering excellent visibility for practicing accurate stitching and pressing. Avoid slippery or overly delicate fabrics initially, as they can be more challenging to control.
Muslin is an inexpensive option for dedicated practice runs, allowing you to refine your technique without wasting valuable fabric. Once comfortable, progress to lightweight linens or rayon challis to experience the seam’s benefits on more delicate materials. Remember, consistent practice builds confidence!
French Seams vs. Other Seam Finishes
Compared to zigzag or serged edges, French seams fully enclose raw edges, providing superior durability and a cleaner, more professional finish for garments.
Comparison with Zigzag Stitch
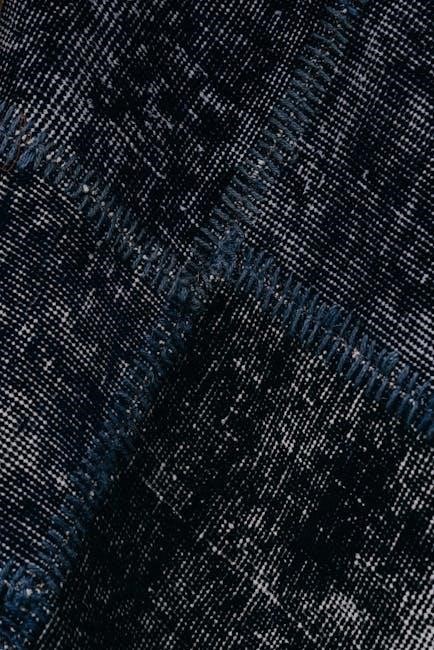
Zigzag stitches are a quick and easy way to finish raw edges, preventing fraying, but they leave the seam allowance exposed. This can be irritating against the skin and less durable over time. French seams, conversely, encase the raw edges entirely within the seam itself, creating a much cleaner and more comfortable interior.
While a zigzag stitch is suitable for less demanding projects or as a temporary fix, a French seam provides a more professional and long-lasting result, especially for garments that will be frequently washed or worn. The added step of sewing a second seam offers significant benefits in terms of both aesthetics and structural integrity, making it a preferred choice for quality sewing.
Comparison with Serging
Serging, using an overlock machine, quickly finishes raw edges with a professional-looking, tightly wrapped seam. However, it requires specialized equipment, unlike French seams which can be achieved with a standard sewing machine. Serged edges can sometimes feel bulky, especially with thicker fabrics, and may unravel if the tension is incorrect.
French seams offer a more delicate and refined finish, particularly suited for lightweight materials where serging might be too heavy-handed. While serging is faster, a French seam provides a fully enclosed seam allowance, enhancing durability and preventing fraying without relying on specialized machinery. It’s a fantastic alternative when a serger isn’t available.
When to Choose a French Seam
French seams excel with sheer or lightweight fabrics like chiffon and voile, preventing visible fraying and creating a beautifully delicate finish. They’re also ideal for garments needing exceptional durability, such as children’s wear or items frequently washed. Consider a French seam for lingerie and delicate items where comfort and a clean aesthetic are paramount.
If you desire a fully enclosed seam allowance, offering both strength and a polished look, this technique is perfect. While more time-consuming than simple seam finishes, the resulting quality justifies the effort. Avoid French seams on very bulky fabrics, as they can add unnecessary volume.
Applications of French Seams
French seams are perfect for sheer fabrics, durable garments, and delicate items like lingerie, providing a clean, enclosed finish and lasting quality.
Sheer and Lightweight Fabrics
French seams truly shine when working with delicate materials like chiffon, voile, or silk. These fabrics often fray easily, and a traditional seam finish can be bulky or visible. The beauty of a French seam lies in its ability to completely enclose the raw edges within the seam allowance.
This creates a remarkably clean and refined finish, preventing fraying and adding to the garment’s overall quality. Because the seam is sewn twice, it also provides added durability, even with the most fragile of fabrics. It’s a fantastic technique for blouses, scarves, or any project where a lightweight, elegant seam is desired. The enclosed seam also minimizes bulk, maintaining the fabric’s drape.
Garments Requiring Durability
While often associated with delicate fabrics, French seams also excel in garments needing robust construction. The double-sewn nature of a French seam significantly strengthens the seam line, making it exceptionally resistant to stress and wear. This is particularly beneficial for items like children’s clothing, activewear, or bags that endure frequent use and washing.
By encasing the raw edges, the seam is protected from abrasion and unraveling, extending the garment’s lifespan. It’s a superior choice compared to simple overlocked or zigzagged seams when longevity is a priority. The added security makes it ideal for high-impact areas like crotches or armholes.
Lingerie and Delicate Items
French seams are a quintessential finishing technique for lingerie and other delicate items, like silk scarves or fine blouses. Their primary advantage lies in completely enclosing the raw edges within the seam allowance, preventing fraying and creating a beautifully clean interior. This is crucial for sheer or lightweight fabrics where visible seam finishes would detract from the garment’s aesthetic.
The enclosed seam also enhances comfort, eliminating irritation against the skin. The refined appearance and durable construction make French seams perfect for items requiring a luxurious feel and lasting quality. They elevate the overall craftsmanship and provide a professional finish.
Troubleshooting French Seams
French seams can sometimes present challenges like unevenness, bulkiness, or puckering; however, careful pressing, trimming, and adjusting seam allowances usually resolve these issues effectively.
Uneven Seams
Uneven French seams often stem from inconsistent seam allowances during both sewing stages. Ensuring precise measurements and utilizing a seam guide are crucial for maintaining uniformity. Carefully pin your fabric before each sewing pass, paying close attention to alignment.
If you notice discrepancies while sewing the first seam, stop, adjust, and continue. Pressing the seam open after the first stitch is vital; this helps to distribute the fabric evenly. When folding for the second seam, double-check that the fabric edges align perfectly before sewing.
A walking foot can also be beneficial, especially with slippery fabrics, as it helps feed both layers of fabric evenly. Finally, a gentle hand and slow, controlled sewing speed contribute to a smoother, more consistent finish.
Bulky Seams
Bulky French seams frequently occur when working with heavier fabrics or using excessively wide seam allowances. To mitigate this, reduce your initial seam allowance split – a smaller difference between the first and second seams helps. Trimming the first seam allowance very closely after pressing is essential; remove excess fabric without cutting into the stitches.
Consider using a slightly narrower second seam allowance than the first. Pressing each seam meticulously is key to flattening the layers. A clapper can aid in achieving a crisp, flat finish. Avoid pressing over multiple layers unnecessarily, as this can add bulk.
For particularly thick fabrics, explore alternative seam finishes if a French seam proves too cumbersome.
Seam Puckering
Seam puckering during a French seam construction often stems from uneven fabric feeding or inconsistent tension while sewing. Ensure your fabric is laid flat and isn’t stretched as you guide it through the machine. Reduce the presser foot pressure slightly, allowing the fabric to move more freely.
Check your thread tension; imbalances can cause gathering. Use a fine needle appropriate for your fabric weight. Gentle, consistent pressing after each seam is crucial – avoid stretching the fabric while pressing. A walking foot can be incredibly helpful for preventing fabric shifting.
If puckering persists, try lengthening your stitch length slightly.